MANUAL

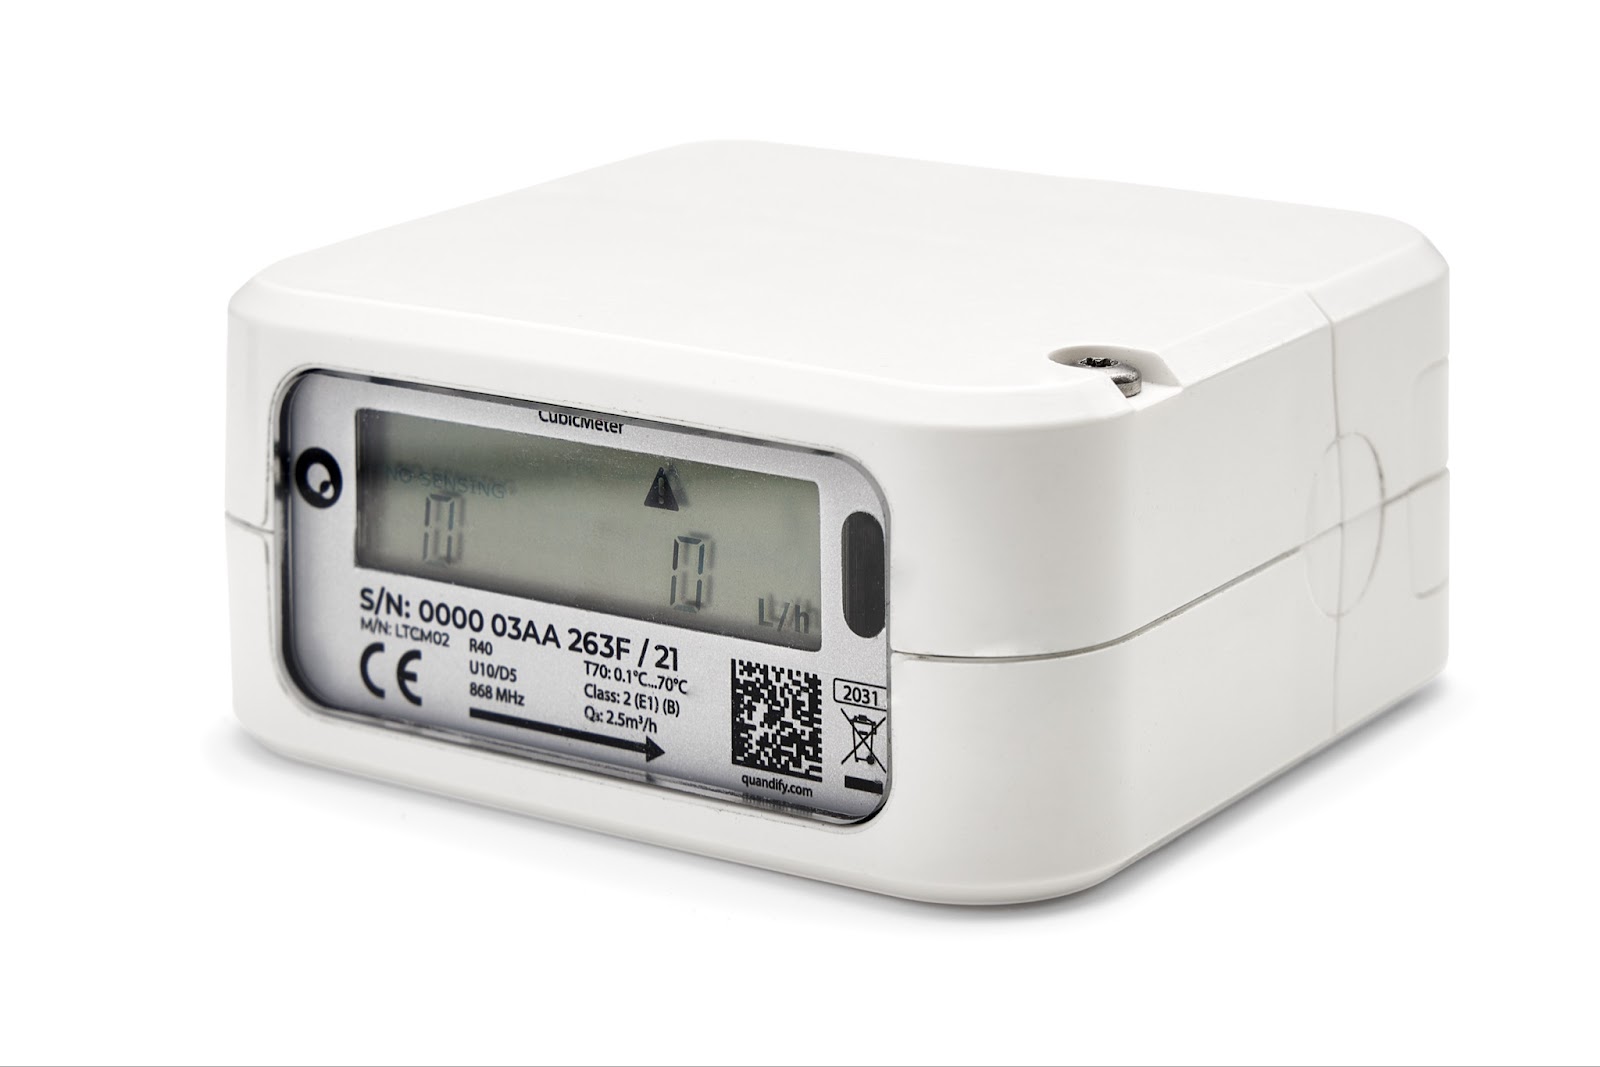
CubicMeter
Clamp-on water flow meter and leak detector for plastic and copper pipes.
INTRODUCTION
Easy-to-install water flow meter and leak detector. Alerts if water leaks are detected. Measures water volume & temperature to increase awareness. One design for multiple pipes. No plumber required to install, with an average of two minutes to install.
PACKAGE CONTENTS
1x CubicMeter LTCM02-X
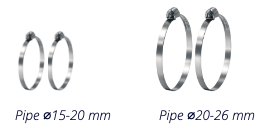
2x small stainless steel pipe clamps
2x large stainless steel pipe clamps
2x tamper-seal covers
2x tamper-seal stickers
1x “remove to activate” sticker
💡 A flathead screwdriver is needed to tighten the pipe clamps, this is not included in the package contents.
Below are the included pipe clamps:
ARTICLE NUMBERS (MODEL VERSION)
SKU | Device color | Photo |
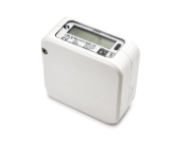
LTCM02-C | White |
|
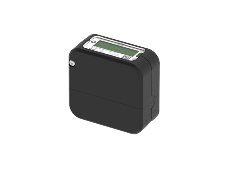
LTCM02-P | Black |
|
COMPATIBLE PIPE SETTINGS
CubicMeter offers two models, below are specifications of compatible pipe types, their outer diameter and LCD-code for the two models.
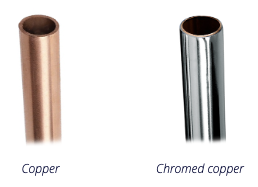
CubicMeter White (Metal Pipes)
LCD code | Compatible pipes | Outer pipe diameter |
Cu_ _ | Copper | 15, 18 and 22 |
Cr_ _ | Chromed copper | 15, 18 |
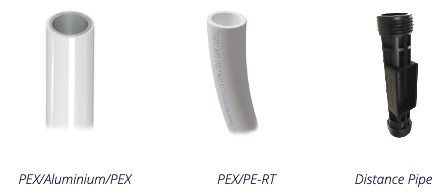
CubicMeter Black (Plastic Pipes)
LCD code | Compatible pipes | Outer pipe diameter |
PAL_ _ | Multi-layered PEX/ Aluminium/PEX | 16, 20 and 25 |
PE_ _ | PEX or PE-RT | 16, 20 and 25 |
dISTPIPE | LK Distance pipe 110 (plastic spacer) | N/A |
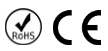
INSTALLATION GUIDE
The CubicMeter can be mounted on the property inlet pipe before it splits to different outlets like kitchens, showers, or bathrooms. It can also be installed post-split for detailed allocation measurements.
⚠️ Ensure the pipe is ready before mounting and is:
clean
undamaged
free from corrosion
free from paint
If the area on the copper pipe where the CubicMeter will be mounted is corroded or painted, smooth the pipe surface before mounting by removing any roughness mechanically or using a solvent.
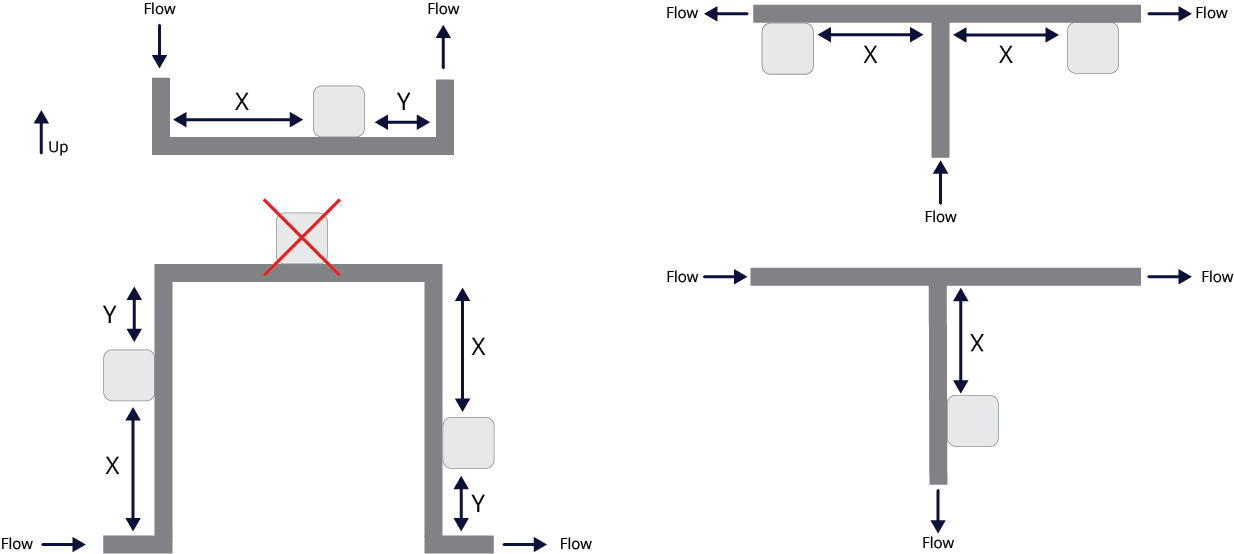
Pipe Distance
Install the CubicMeter with adequate space before and after pipe bends to prevent flow turbulence. Ensure the specified distance requirements below are met:
Upstream Distance | X > 10x outer pipe diameter |
Downstream Distance | Y > 5x outer pipe diameter |
Examples
Pipe Type | Copper 15 | PAL 20 |
Outer Diameter | 15 mm | 20 mm |
X | Is greater than 150 mm | Is greater than 200 mm |
Y | Is greater than 75 mm | Is greater than 100 mm |
Optimal Placement
Video Unboxing and Pipe Installation
Mounting
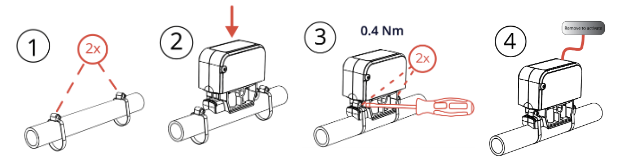
⚠️ Incorrect installation affects metering accuracy; do not use plastic zip-ties.
Loosely place the pipe clamps provided around the pipe.
Place the device between the clamps and align the brackets over the device.
Tighten the the screws using a flathead screwdriver to a torque of 0.4Nm.
Remove the activation sticker. Select the pipe setting by holding the sticker over the IR-eye and removing the sticker when the correct pipe appears on the display.
Verify on the display that the device accurately reports the flow by turning on the water flow for at least 60 seconds.
If symbol “no sensing” is shown, verify steps 1-4 or refer to the No Sensing Errors guide.
Note: The device will start saving data automatically after 1 hour in "pipe selection mo". If the activation sticker is put back on for 15s over the IR-eye within 1 hour, after it has been removed, the device will revert to its packaging state, HELLO state.
Remounting
The ultrasonic interface of the CubicMeter will adapt to the geometry of the pipe. If the device is remounted on a different pipe diameter, the performance of the device cannot be guaranteed. This is especially critical when moving the device from a smaller to a bigger pipe diameter.
FUNCTIONAL WATER FLOW TEST
When the proper pipe has been selected, open any water tap to get a steady water flow.
Check that the LCD-display now shows a flow rate (l/h).
Turn off the water by closing the tap and check the flow rate on the LCD-display that it is now near 0 l/h.
If step 2 or 3 was unsuccessful, please make sure you followed the installation and pipe setup instructions correctly. You can also try to reinstall the device and move the device's position around the pipe, in case the pipe has been deformed.
Note: If the meter has been activated for more than 1 hour, it will instead show total water usage in m3.
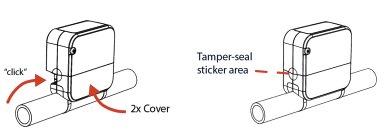
ANTI-TAMPERING
Attach the anti-tampering cover and stickers after installation is complete and tested to prevent unauthorized removal.
READING THE DISPLAY

LCD code | Description |
TAMPER | Attempted tampering with the meter's behavior. |
LEAK | Possible medium leak detected. |
BURST | Possible large leak detected. |
REVERSE | Water flowing the wrong way based on the meter's orientation. |
NO SENSING | Unable to detect water in the pipe. |
| Displays the current water flow direction. |
| Indicates and issue with the device along with an error code. |
| Shows radio functions are active. A single dot indicates faulty radio function. |
| Low battery, less than 180 days a battery life remaining. |


All units conduct an LCD check every 5 minutes.
First, all segments will disappear for 1 second followed by displaying all segments for 1 second. This is to verify the screen's functionality.
The following information is then displayed in the following order, 1 second per item:
Firmware version number
Firmware CRC32 checksum in hexadecimal format
Current pipe temperature in °C
Selected pipe setting type
Event/change log counter
If applicable, the last error code logged
DATASHEET
Battery: | 3.6 VDC Li/SOCl2, non-replaceable, up to 10 years |
Storage Conditions: | 5°C - 55°C |
Water Temperature: | 0.1°C - 70°C (T70) |
Environment: | 5°C - 30°C, indoor usage (B, E1) |
Sampling Frequency: | 1 Hz |
Water Usage Resolution: | 1 Liter |
Wireless M-bus Protocol: | Wireless M-Bus (868MHz, C1, format A) |
Wireless LoRaWAN: | EU868MHz (SF 12 for RX2), 1.0.2-revB, OTAA |
LoRaWAN Data Resolution: | 1 hour* |
Maximum Flow Rate: | 66.7 liters per minute |
Small Leak Detection: | >0.017-0.15 liters per minute** over several days (Only using Quandify platform) |
Medium Leak Detection (LEAK): | >0.16 liters per minute for at least 40 min |
Large Leak Detection (BURST): | >25 liters per minute for at least 5 min |
Flow Rate Accuracy: | Copper Pipes: ±5–10% typical error |
Ambient Temperature Accuracy: | Max ±1.5°C error |
Water Temperature Accuracy: | Max ±2°C error |
Weight: | 280 grams (excluding packaging) |
Dimensions: | Width: 40 mm, height: 79 mm, length 87 mm |
*You can change the data transmission interval.
**Depending on pipe size & material.
MAINTENANCE AND SERVICE
Maintenance-free for up to 10 years.
Check the LCD-display for error codes here.
For faults, contact your authorized distributor. Only authorized Quandify centers handle service.
Authorized personnel can configure settings via the meter’s optical eye or LoRaWAN.
Use original manufacturer spare parts for external replacements.
To uninstall a meter, remove tamper-seal covers with a screwdriver and cut metal fastening clamps with pliers.